

Applying decals to cornhole boards isn’t an overly complex task but it does require some focus and preparation, so you want to make sure that you are prepared to apply cornhole decals before you just give it a shot and hope for the best. Below is everything you need to know for how to apply cornhole decals and a step-by-step guide to walk you through the process.
Get quality decals
You want to try to buy quality decals to prevent one of the most common problems: shrinkage. Once your decals are exposed to the sun, they could shrink up as much as a quarter inch.
Many cheaper made decals with shrink over time so try to go with brands with good reputations like 3M, Oracal, etc.
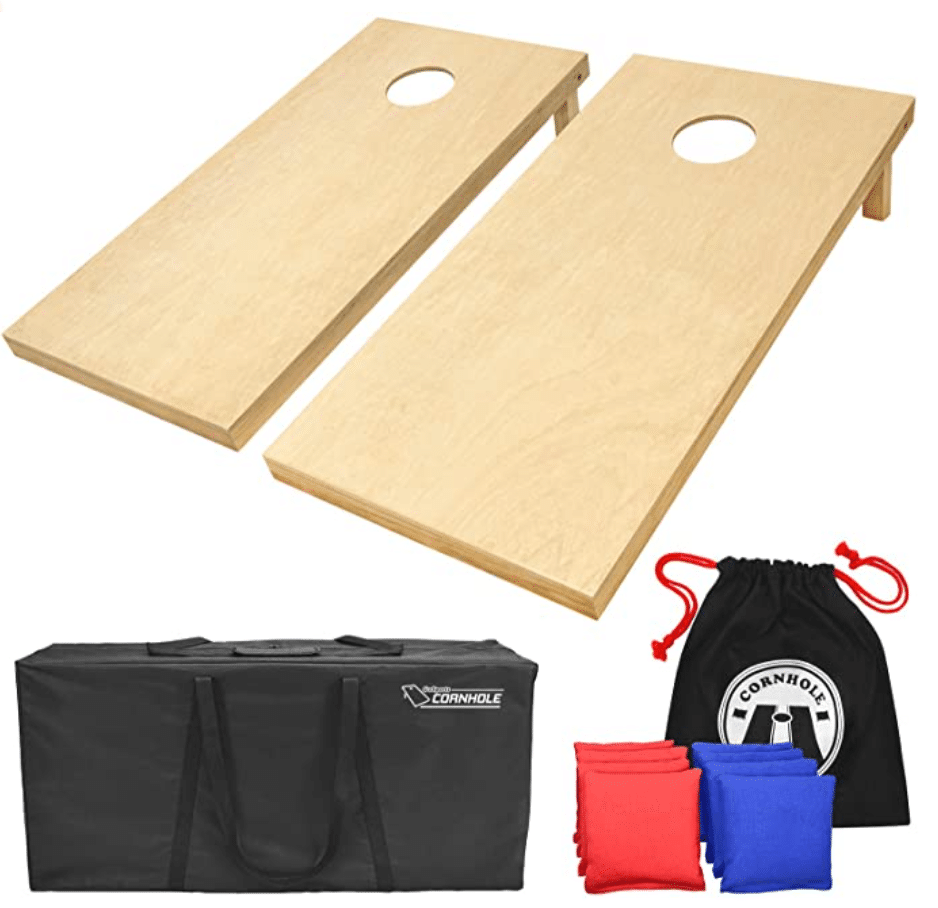
Get a quality cornhole board set right now!
Check out my #1 recommendation for a quality cornhole board set that is perfect for beginners.
Decals versus wraps
Note that this article is going to discuss applying decals to cornhole board. Wraps are different in that they cover the entire playing surface of the cornhole board. Decals are much smaller and are typically easier to apply.
Decals explained
A decal typically consists of three parts.
Paper backing
The paper backing which is the (usually white) sheet that is on the bottom of the decal. This is what the decal sticks to.
The decal or sticker
Then there is the actual decal which of course is the sticker you’re applying to your cornhole board.
Transfer tape
Finally, there is the transfer tape which is the top layer. This is the layer that stays on after you peel off the paper backing.
Decide: Wet vs dry decals
If you’ve never dealt with cornhole decals before (or just decals) you might be wondering what the heck is a wet decal?
There are usually two ways to apply vinyl decals: wet or dry.
Dry application
The dry technique is the standard application technique. I’ll explain how to do it in detail below, but to put it simply: it’s the straightforward method of sticking the decal on a dry board.
It requires precision because you usually won’t be able to remove the decal so if your measurements are off, you can easily ruin the decal.
Wet application
With the wet technique, you spray a liquid mixture of soap and water on the decal to reduce the stickiness.
This allows you to move or slide the decal wherever you need to position it, so it is much more forgiving than a dry application. The drawback is that it can be tougher to squeegee out all of the soap and water, so this method can be much more time consuming.
Sand and clean your cornhole board
Before applying any decals, you need to make sure that your cornhole board is sanded smoothly and that you don’t have any dust or wood pieces on the board. Otherwise, you may not be able to apply the decal evenly.
Applying polycoat
Many prefer to add a coat or two of polyurethane before they apply their decals.
The dry method
I’ll first discuss the dry method.
People apply decals a little bit differently but here’s my recommended way.
Take your measurements to center the decal
Locate the center of your cornhole decal and the center of your board and mark them very lightly with a pencil (or use tape) so you can line them up. Measure the distance from the edge of the cornhole board to the decal on each side to make sure they are equidistant.
In some cases, you might want to apply the decal somewhere else on the board, which is fine. But I suggest trying to figure out some other way of measuring to ensure symmetry, unless that’s not desired.
Tape down one side
Once you know where to place your decal, you can tape (try painters tape) the top of the decal to the cornhole board. This will ensure that it remains stationary while you apply the decal.
Instead of the top, you might find it easier to tape the bottom of the decal — it often depends on the shape and design of the decal.
Now flip the decal all the way back, crease it, and remove a small portion of the paper backing. If you’re having trouble visualizing what this looks like then check out the vide below. The sound quality is pretty bad the visuals are good.
Once you do that, you’re going to use a squeegee or a credit card to gently flatten out the decal while you remove the paper backing very slowly. The idea is to apply enough force to get the decal to stick but while smoothly applying it onto the board.
Keep on peeling back the paper backing as you continue to gently flatten the decal on to the surface.
Squeegee it with a squeegee or credit card
Once you have the cornhole decal completely down, it’s time to squeegee that bad boy down with more force. Don’t apply too much force but feel free to use firm strokes.
You should start from the inside of the decal and work your way outwards. Make sure there is overlap in your strokes so that you don’t leave in air bubbles.
Peel off the paper backing (carefully)
After you squeegee down the cornhole decal, you need to peel off the transfer tape. You accomplish this by slowly peeling back the transfer tape almost parallel to the cornhole board.
You don’t want to just lift the transfer tape off straight up because it can easily rip off your decal and ruin it. Remember, with the dry method, there’s little room for error.
Do it very slowly and carefully. If certain parts of your decal do come up then just push them back down in place.
You can watch this video for another demonstration.
Remove air bubbles from your cornhole decals
Once you finish up, you might have air bubbles in your decal still.
Try to squeegee them out as much possible and see if you can get them out. You can place a sheet like parchment paper over the decal when doing this to reduce the risk of damaging the vinyl in your decal.
Using a pin
Some people will poke small holes in the air bubbles with a small pin.
Just insert the small pin into the air bubble enough to create a hole for the air to release and then press down with your finger onto the air bubble for a few seconds — this should be enough to remove the air bubble.
If you’re using a polycoat over your decal then the small holes should not be noticeable if you know what you’re doing.
Also, keep in mind that as the decal sets, the air bubbles will often slowly vanish over time. So sometimes you just want to leave your decal alone for a while and allow the air to release naturally.
But if you’re dealing with large air bubbles they might not go away. In fact, if you leave them untreated, they could expand over time and ruin your polycoat.
Using a blow dryer
Some people use a blow dryer on the decal once they get it done. This is a fine method but you should be careful that you don’t apply too much heat to the vinyl or you could cause it to melt.
The wet method
The wet method is going to be very similar to the method above.
The big difference is that after you measure out your desired position and then tape your decal to the board, you’re going to spray the board and the sticky side of the decal with the liquid mixture of soap and water.
People make their mixtures a little bit differently but you can try use just a few drops dish soap in about 16 ounces of water in a spray bottle. After you squeegee out the air bubbles as best as possible, you want to let it sit for about 10 to 15 minutes before you remove the paper backing.
You can find more details on how to apply these here.
Final word
Applying decals to your cornhole board isn’t overly complicated but it does take a some focus to make sure that you don’t screw up the application and ruin your decal, especially if you’re going with the dry method.
If you follow the directions above you shouldn’t have major trouble applying your decal. However, if you seriously doubt your ability to apply an expensive decal, it could be in your best interest to find a reputable sign shop to apply the decal for you.